Showing posts with label boy. Show all posts

Wednesday, June 6, 2018

Birthday Cake


My son asked for a Star Wars cake, and this is what I ended up doing.  He was so excited.

Tuesday, May 29, 2018

Boy's Room


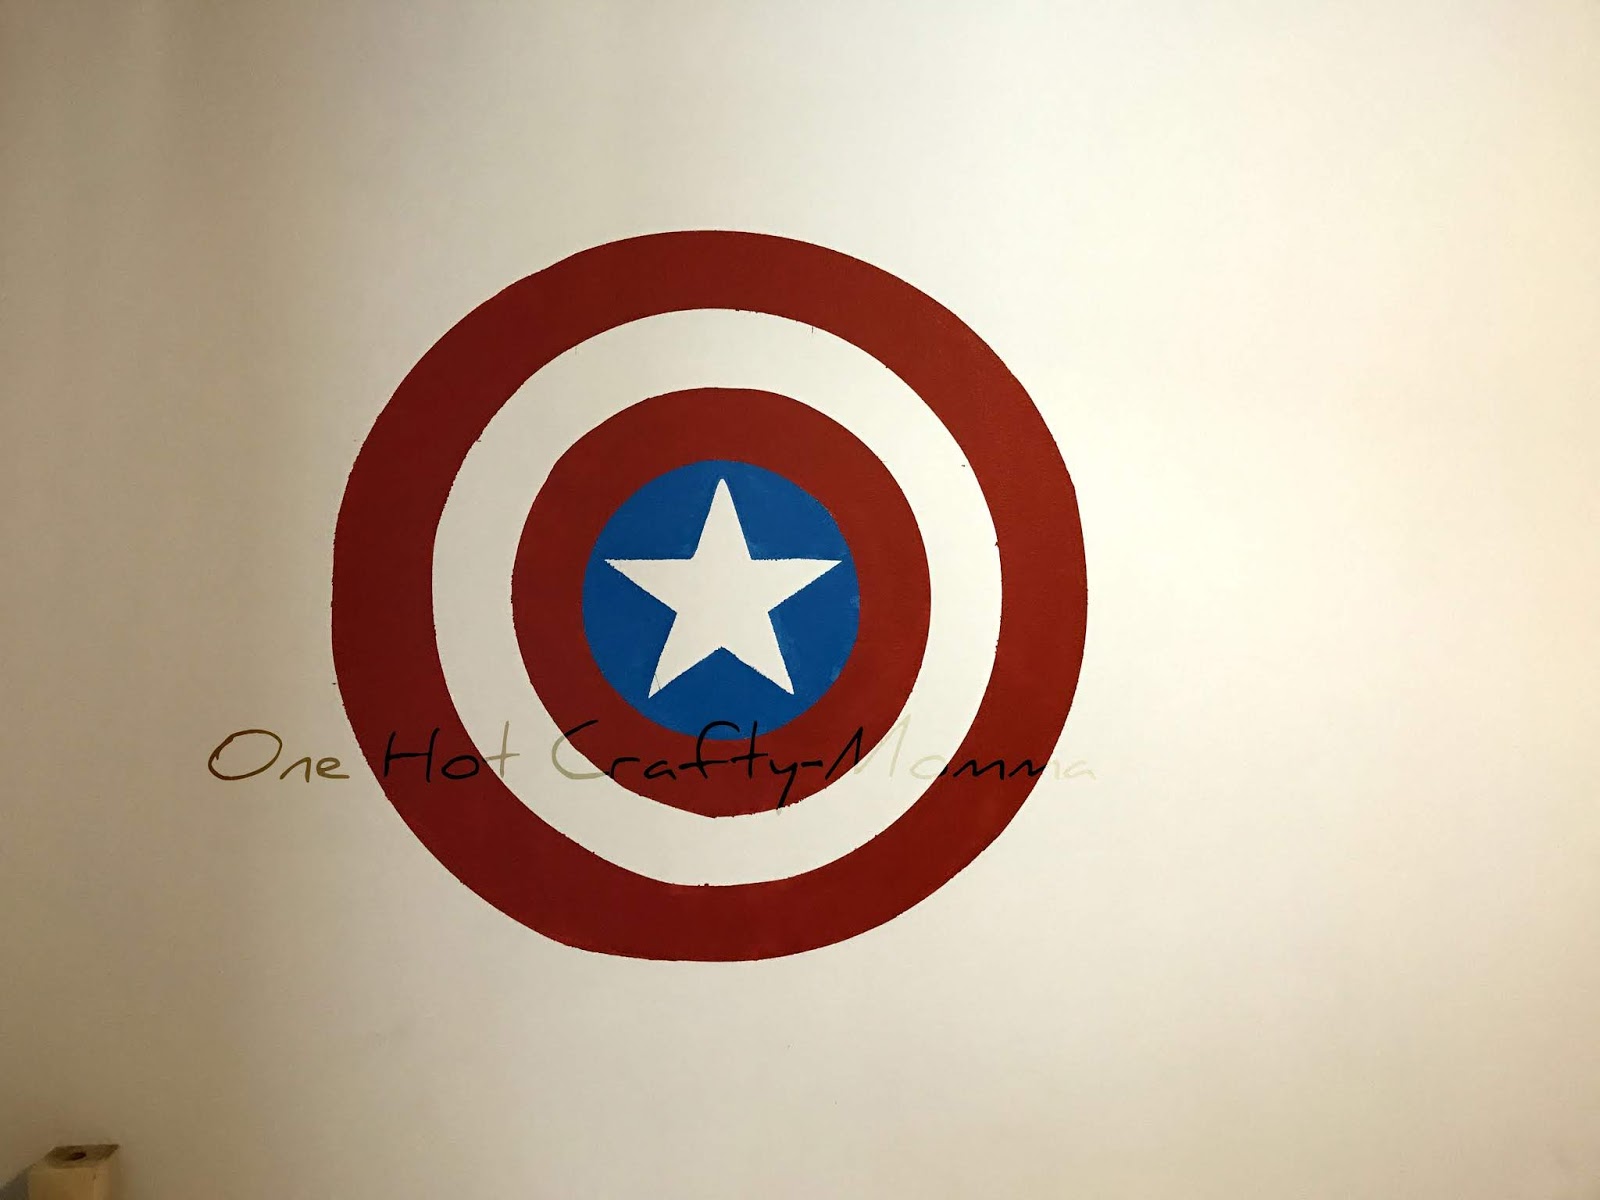
Two of my boys share a room and they love the super heroes so of course I had to do something to go with that. Using my cricut I cut out vinyl to use as a stencil.  I cut out their favorite hero's logo, these were about a 2'x3'


Here is the vinyl on the wall, this was a great opportunity to use up scraps of vinyl I had laying around. Next up was painting.
I did have to do a couple of coats to make sure it was covered well.


I added a couple of stripes on each side.  Then hung the artwork that I already had for them.  For Christmas I made them each comforters for their beds to go with their super hero.  I'll show what I did for them on another post. 


Monday, January 29, 2018

Boy Birthday Party


 Let me tell you right now, I am not one to do birthday parties.  True most of the time when it comes to the kids birthdays I'm either pregnant (like 8-9months along), we are in the process of packing up the house or we just live in an area that we really don't know that many kids their age.  Whatever the reason I decided I should give my oldest son a party he hadn't had one before and he was turning 7.  This kid LOVES  Captain America so we went that direction.  I wish that I had gotten more pictures but it was just me so when you are in charge its hard getting the pictures as well.  :)


I made this Captain America shield cake for him.  He thought it was the coolest thing. 


Building this pinata I used old cereal boxes and cut out two circles and then cut out a wide strip that went all the way around the circles and taped it together.  I will create a tutorial soon on the entire process.  I decorated this pinata using the same process that I described here

I bought superhero masks for the boys to wear and made a giant shield where the kids played pin on the star. 


It was a hit with the boys.  I didn't do much else after playing the game and breaking open the pinata. I just let them all play with each other and have.  My son thanked me later so I'll mark it a success. :)

Wednesday, December 9, 2015

2015 Christmas Ties

I'm sorry the quality isn't the best, I took it from my phone quickly but I wanted to show you guys this year's Christmas ties.  I was so excited when I found this fabric this year and my husband and my boys are loving them.

Friday, January 31, 2014

Another Boy Onesie

 Ok I told you guys that I was excited about this one earlier this week.  I have seen onesies similar on the internet and have always wanted to make one then the hat kind of came along for the ride to complete the package.

 I used a pattern to make the hat.  

The actual onesie itself I kind of winged it and I'm thrilled at how it turned out.  I will definitely will be making more of these.


More the Merrier Monday

Wednesday, January 29, 2014

Baby boy onesies

 My sister-in-law is having her first baby in March, they found out it is boy.  I made some onesie's for her.  This one I made from an inside joke they have with my oldest daughter.


Here is a close up.


I made this one because hockey is a big sport in my husband's family.  I have another onesie to show you guys but I'm saving it for another day I am really excited about it.

Monday, January 20, 2014

Boy Valentine Day Shirt


I wanted to share the Valentines Day shirt I made for my son.  I put it on him to take pictures and he refused to take it off again. 


More the Merrier Monday

Friday, June 21, 2013

Monkey Jammies


My son loves monkey's.  I found this fabric at the store and thought it would be tons of fun for him.  For the shirt I just took a plain white t-shirt and cut out the monkey's and some bananas then sewed them onto the shirt.  The pants took a little bit more work but it was simple to do.


I took a pair of jammie pants that fits him now and used that as my guide.  I folded the pants in half and using the folded side I cut the fabric about an inch bigger then the actual pant leg to account for seam allowances.  At the waist line you want to cut the fabric about 3 inches bigger.  I didn't do that and later realized that I should have.  Then using the piece that I just cut out as a guide, I cut a second piece on the fold.

With the right sides together on one piece, I sewed along the longest part of the until it changed directions.  I repeated it with the second piece.  I'm sorry I forgot to take pictures of the next steps.

I turned one of the pieces right side out then stuck that piece inside of the other piece matching the seams together.  That creates a U shape and I sewed the U together.  I did a reinforcement stitch on that seam.  Now your two pant legs are sewn together,  then I finished off the hem on the legs, and put the elastic in at the waist.

Then they are done!!!

craftionary
Somewhat Simple
craftionary


More the Merrier Monday

Friday, May 31, 2013

Monkey cake

Earlier this month my little guy turned two.  We call him a little monkey so I made him a monkey cake.  I used a round cake pan, and a small mini cheesecake pan to bake the cake in.  Then I cut the small circle in half and used that as the ears.


Tuesday, August 28, 2012

Baseball Quilt


I have been working on quilts for my kids.  I'll show you how I did it with my daughter's quilt because that it the one that I have been taking pictures of the process.  I finished my son's quilt and I have to share it with you guys.  I forgot to take a picture of it on his bed, but when I put on my son climbed right up on the bed and started snuggling with the quilt.   I'll take that as a good sign.

Lil\'Luna

Tuesday, August 21, 2012

Fabric Mats (no sewing)


I'm excited at how this project turned out.   It cost me all of about $4 to do.  The frames are from the dollar store that I painted white.  The baseballs are vinyls that I cut out on my Cricut and the mats in the frames are made from poster board and fabric scraps.  Warning I took a lot of pictures on how I made the mats.


I used the paper that came in the frame as my guide as to how big to cut the poster board.  I then traced around it.


I cut it out then repeated the process 2 more times.


The pictures that I was putting in the frames were 5x7's.  So then I measured a little bit smaller then 5x7 in the middle of each mat.


Here are my three mats with the centers cut out.

Using my scrap fabric from making the bean bags I cut out a piece that was a little bit bigger then the mat.  I also cut the inside corners just a little bit.

Then I started hot gluing the fabric to mat, folding the fabric over.  I did the outside of mat first.

Here is what my corners look like.


Then I pulled the fabric tight and started gluing the inside.


Here is what the back looked like when I was all done.

Here is the front of the mat.

This is after hanging the frames.  I am waiting for the pictures to come in the mail.