Thursday, May 31, 2018

Antique Piano Repurposing Part 4: Bench

If you have missed posts about the Antique Piano that we have been repurposing the links are here Part 1, Part 2, and Part 3.

It has been so much fun being able to create so many new things with this piano.  Here is the next project that we did.


First of all, as a reminder we have to go back to this picture where we cut out the section that we used for the hall table. Now we are going to use the other section.  We removed the sound board and was left with this:


Now we flipped it over so what was the top has now become our base.  We cut the posts to become flat with the rest of our base.


Our next step was to attach the top of the piano to our base, this became the seat of our bench.

We decided that we needed to stain the wood to give it a more finished look.

After the stain dried, we used some wood scraps and created some posts for the back of the bench and attached them to the posts on the base.


Finally we were able to attach the board that I wanted to use for the back of the bench.  

Here it is after we moved it inside to it's spot just inside the front door as a place to sit and put your shoes on.




Tuesday, May 29, 2018

Boy's Room


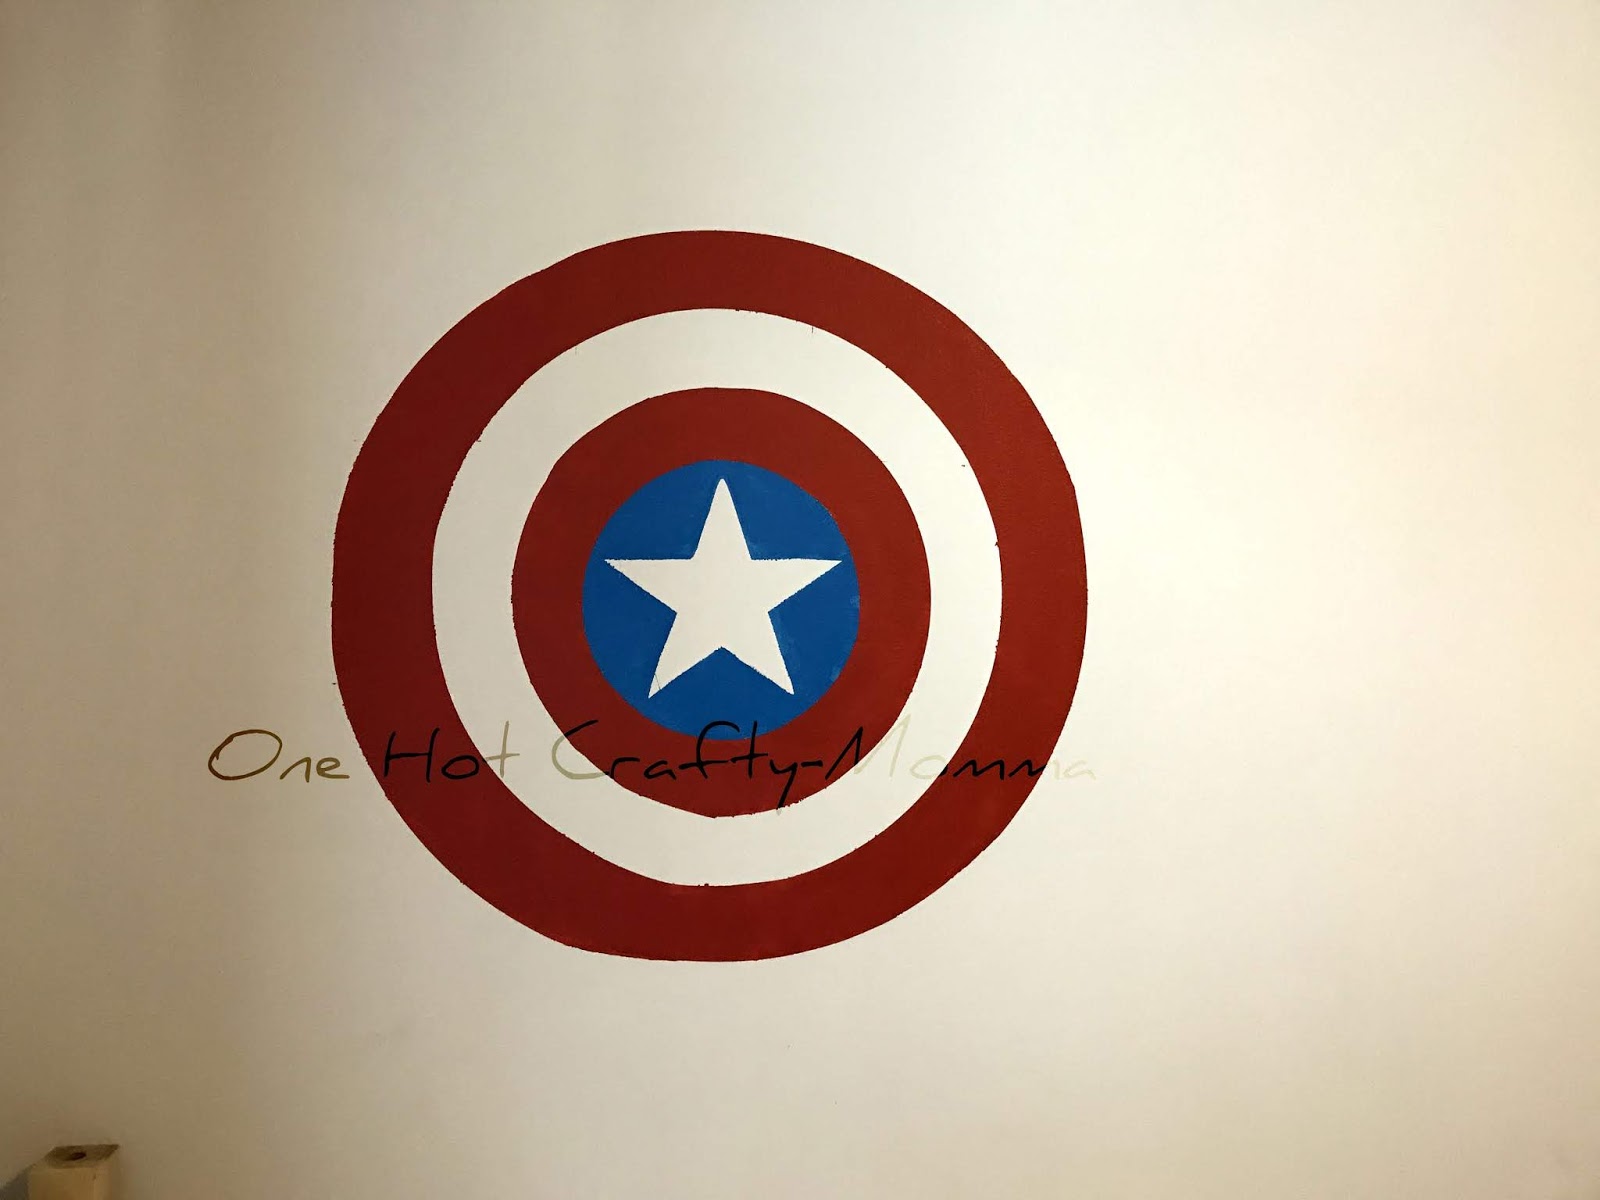
Two of my boys share a room and they love the super heroes so of course I had to do something to go with that. Using my cricut I cut out vinyl to use as a stencil.  I cut out their favorite hero's logo, these were about a 2'x3'


Here is the vinyl on the wall, this was a great opportunity to use up scraps of vinyl I had laying around. Next up was painting.
I did have to do a couple of coats to make sure it was covered well.


I added a couple of stripes on each side.  Then hung the artwork that I already had for them.  For Christmas I made them each comforters for their beds to go with their super hero.  I'll show what I did for them on another post. 


Wednesday, January 31, 2018

Tween Girl Room

 I mentioned last week when I shared my before and after pictures of the kitchen island here that I spent part of the summer painting and decorating the kids rooms.  I want to show you the first one.  My oldest is a tween, as much as I don't want to admit it, so I had to try and think of something that she could grow with in the next few years into being a teenager.  This is what her and I came up with.

To start out with the walls were all white. This is the first time that we have bought a house so we have been having fun with painting and not having to worry about changing it or getting permission from the landlord (I never painted any of our old places for these reasons).  My daughter loves pink so we went that direction. 


First thing I did was paint the entire room light pink.  She is still using the quilt that I made her here.
She is also a huge Harry Potter fan so she also had to hang her banner.  

On the big main wall on the other side of the room, I cut out a whole bunch of little circles using my Cricut with gold vinyl.


She thinks this wall is so cool!!


The last thing is the corner with the desk and chair.  That desk has been handed around between my aunts and then to me and then to my sisters, it has been sitting in my parents basement not getting used.  They brought it over for us.  


It needed a little love before I could put it in her room.  I had put wall paper flowers on the desk when I used it forever ago, I had to remove those and give it a new coat of paint. Also it used to have gold accents then I painted it when I did the flowers, covering the accents.  I brought the gold accents back with some gold paint and it was set to go.

The chair was a bit more work, it was one of our old kitchen table chairs, so it was wood stained and the back and legs were black.  The seat I painted white with chalk paint and the back and legs I spray painted with gold paint. 


I put them in her room and it was finished!!